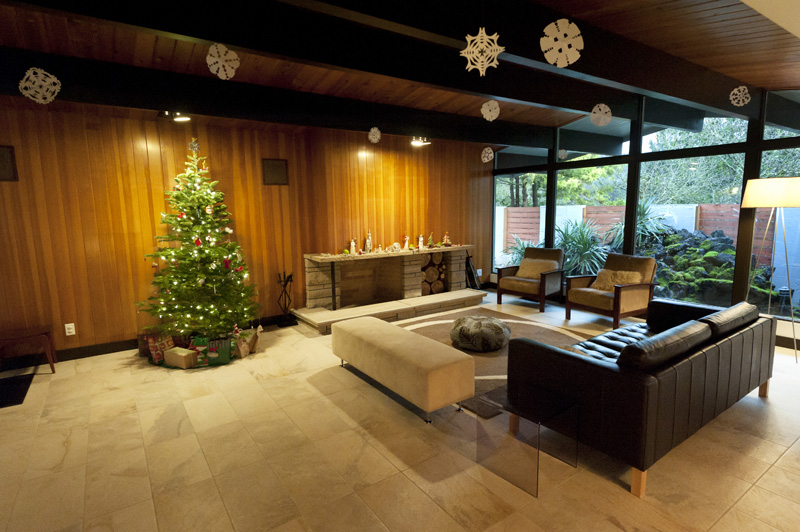
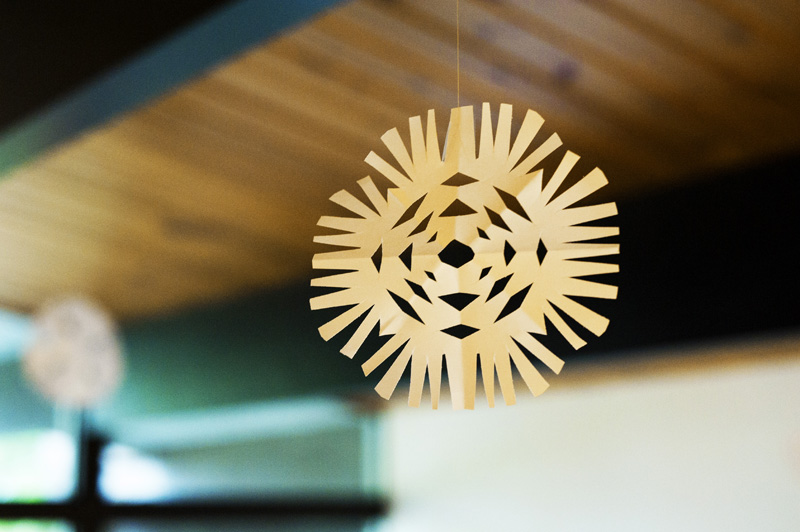
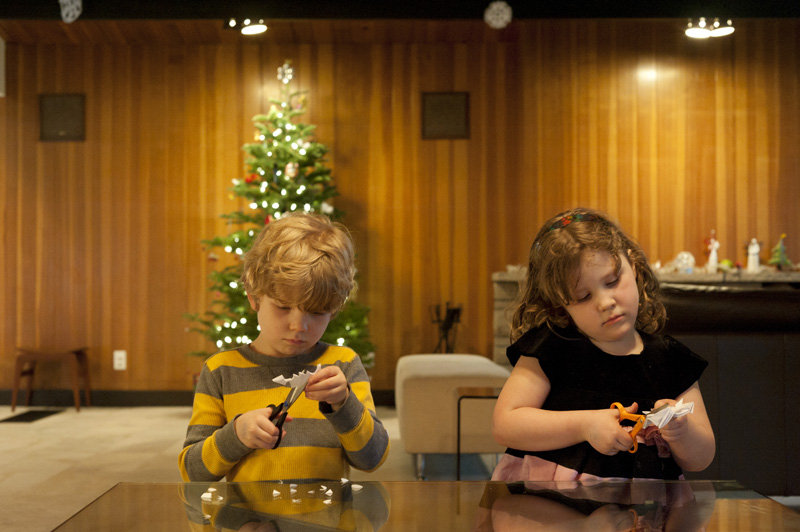
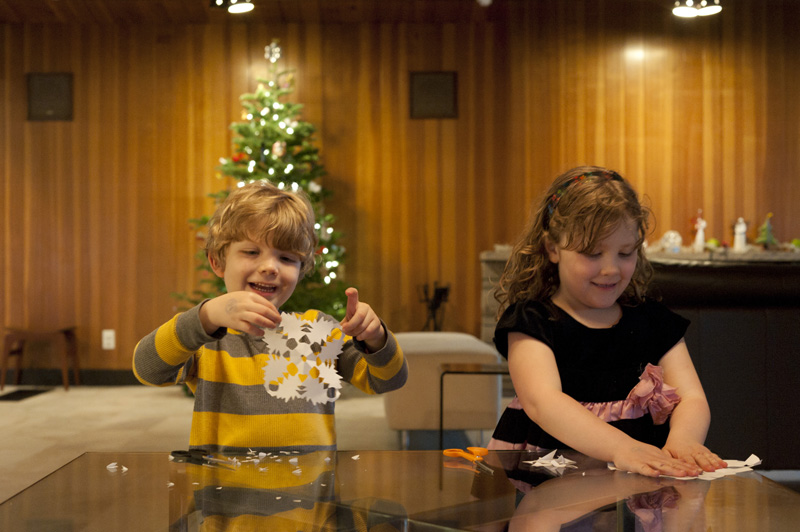
This week, the kids and I had a fun time making paper snowflakes to hang in the living room. They were so excited to create more winter decorations for the house! They loved cutting them out, but hanging them was even more exciting. The kids were cutting thread, handing me tape, and following me around with the step stool. When finished, it really made a great winter wonderland effect! I definitely recommend trying it out.
I’m sure you all know how to make paper snowflakes, but there are instructions below if you’d like. With kids, I usually do 4 pointed snowflakes, as opposed to 6, because it’s easier for them to cut through the paper layers. However, I’ve never seen a paper snowflake that I didn’t like!
For our snowflakes, we did large ones with full sheets of paper, and small ones, with half sheets of paper.
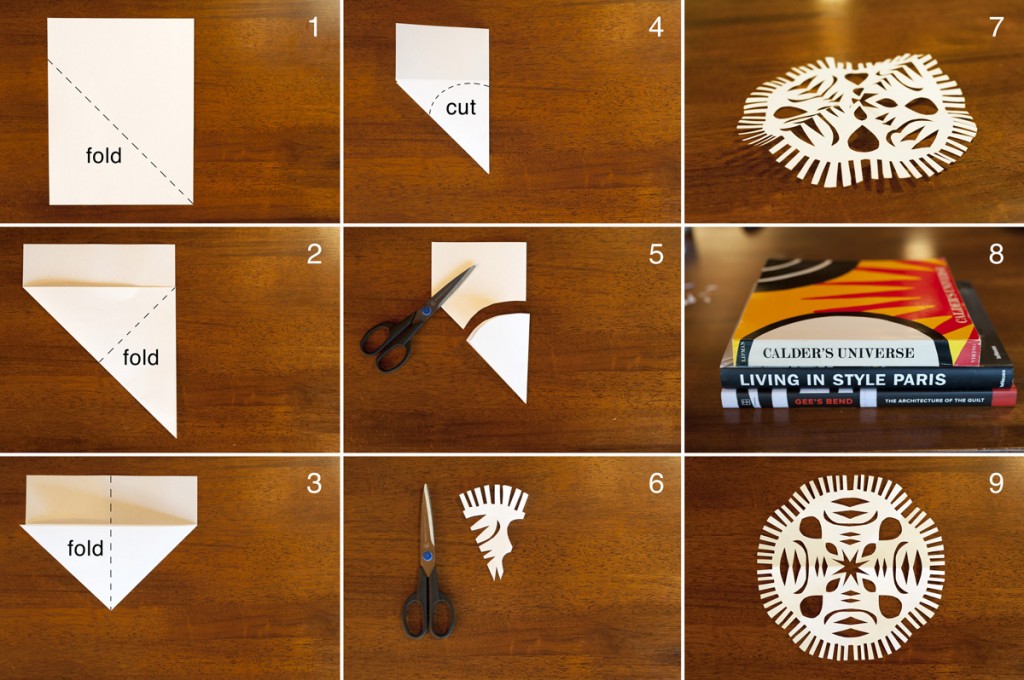
See photo below for instructions.
1 – Fold bottom left corner up to the right side of the paper edge.
2 – Fold bottom right corner up to the left side.
3 – Fold in half down the middle.
4 – You’re going to cut off the bottom tip, where all of the folded paper is. You can do a rounded edge, or straight cut, or angled cut. Each will make a different snowflake shape.
5 – Cut the bottom tip off.
6 – Now make whatever decorative cuts you’d like. Experiment with all ideas you can think of!
7 – Unfold the snowflake!
8 – Flatten under some heavy books. (optional)
9 – Finished! (We hung ours from the ceiling with thread and clear tape. Fast and simple!)
